 Save to Pinterest
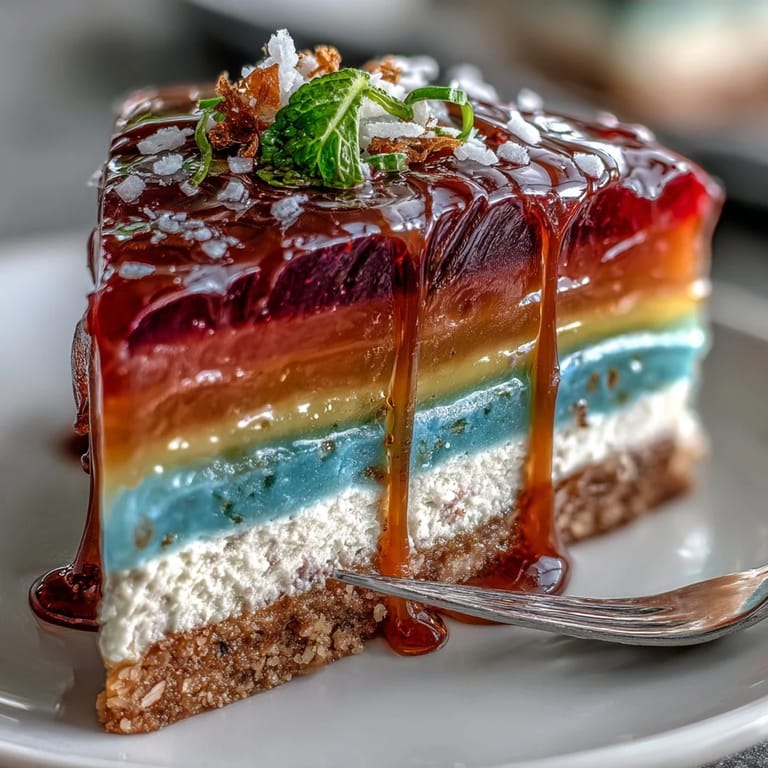
 Rainbow Jelly Cake always reminds me of the first time I heard the cheerful wobble as I gently jiggled the mold—my kitchen counter practically became a disco ball from all those vibrant colors. The scent of warm coconut mingled with a sweet, almost floral note from the agar-agar filled my apartment, making it impossible not to sneak even the tiniest taste before the layers finished setting. I learned very quickly that patience is half the battle with this cake, but the result is glassy, glistening, and the kind of dessert that makes people pause before slicing, marveling at the layers. There’s a playful energy in arranging the colors and watching them transform into a centerpiece worthy of any celebration. If you’ve never built a cake from jelly before, you’re in for a gentle, joyful walkthrough—and a fridge full of anticipation.
When I first made this cake for my friend’s backyard solstice potluck, the guests kept circling the dessert table just to snap photos before anyone dared make the initial cut. One of the kids pleaded for the orange slice just because it “matched my water gun.” That day, laughter and the sound of spoons tapping jelly fought for attention against the summer cicadas. Slicing through the set cake, I realized it was as much about the shared spectacle as the taste. The next morning, the leftover slivers disappeared before I could even consider coffee.
Ingredients
- Agar-agar powder: The miracle behind the bouncy, clear layers; always whisk well to stray clear of clumps.
- Water: Use filtered or spring water if possible for a clean, pure background and brighter colors.
- Granulated sugar: Too little and the jelly lacks flavor; measuring ensures the right, not-too-sweet balance.
- Food colorings (red, orange, yellow, green, blue, purple): Gel or liquid both work; add sparingly and watch the colors bloom like watercolors.
- Vanilla extract (optional): Just a hint turns plain jelly layers invitingly fragrant.
- Coconut cream: The key to that rich, velvety top; be sure to stir or shake the can so it’s smooth with no lumps.
- Salt: Just a pinch makes the coconut flavor pop (don’t skip it).
Tired of Takeout? 🥡
Get 10 meals you can make faster than delivery arrives. Seriously.
One email. No spam. Unsubscribe anytime.
Instructions
- Make the Rainbow Jelly Base:
- Combine the agar-agar powder and water in a saucepan and heat gently, whisking until everything is dissolved with no gritty bits left. When you add the sugar and optional vanilla, listen for that soft, bubbling sound as the mixture thickens slightly and grows wonderfully aromatic.
- Divide and Tint:
- Transfer the clear hot jelly into six bowls—work quickly, as agar sets fast. Gently swirl in food coloring, watching the swirls of color float and settle before blending fully (and consider wearing gloves if you’re a splashy stirrer).
- Layer and Wait:
- Pour the red jelly into your mold of choice—listen for the faint sizzle as each layer hits cool glass or metal. Wait until the surface feels just set (like the pad of your finger rebounds) then repeat color by color, keeping each new layer warm until its time in the spotlight.
- Coconut Cream Finale:
- In a clean pan, blend coconut cream, water, agar-agar powder, sugar, and salt. Let it gently bubble and thicken—give it a taste for sweetness and salt, then pour over the set rainbow layers so it nestles down like a soft cloud.
- Final Chill:
- Let the whole cake reach room temperature, then transfer to the fridge until fully firm. Run a thin spatula around the edge before un-molding for a satisfyingly clean reveal.
- Slice and Share:
- Use a sharp knife dipped in hot water to slice through the layers smoothly. Serve chilly—listen for the quiet delight as forks hit plate and everyone ogles the rainbow cross-section.
 Save to Pinterest
 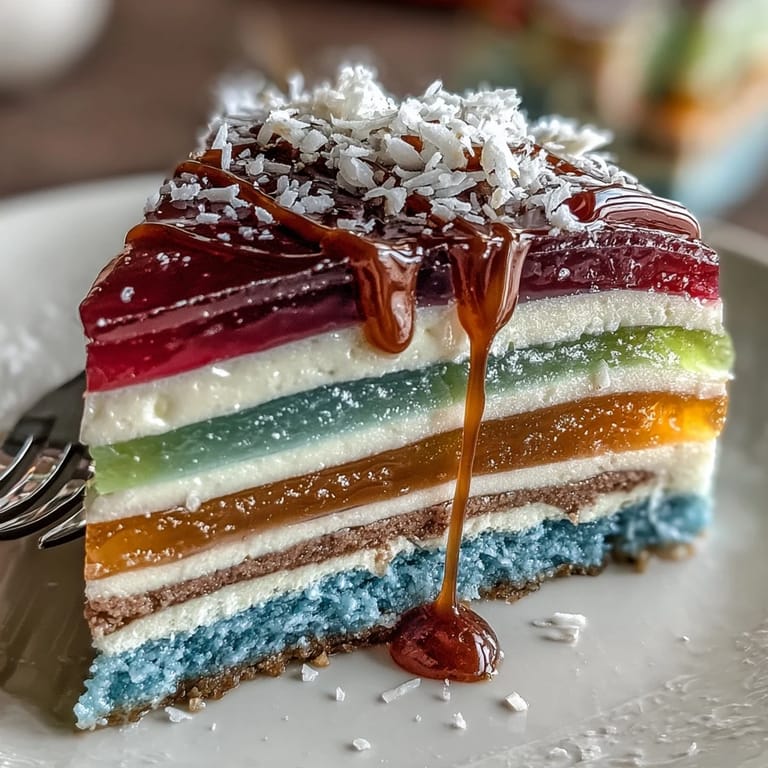 Save to Pinterest
 The very first time this jelly cake made it to my family’s Lunar New Year potluck, my cousin brought her own sparkly knife just to do the honors. For a moment, even the adults set aside the savory feast to marvel at the cake's crisp lines and cloud of coconut cream on top. Kids huddled close, whispering predictions as to which color would taste “the happiest.” I’ll never forget the grins as the slices vanished, spectrum by spectrum. That laughter still echoes whenever I make it again.
Choosing Your Colors Matters
I’ve tried both standard and all-natural food colorings: gels deliver the brightest hues, but plant-based versions make me feel a bit virtuous. When layering, resist the urge to skimp on color—the vibrancy makes each slice a celebration. Using odd color orders once led to a cake that looked more ocean than rainbow, but it was still a conversation starter. If you crave a tropical twist, I sometimes swap green for a minty hue or add a splash of rose scent to pink.
Tips for Perfect Layering
Chill time between layers isn’t just a suggestion—it’s the answer to neat stripes. To speed things up, I set the mold over a tray of cool water or keep it in the fridge between pours (just a few minutes each). If a layer over-firms, rough up the surface with a fork; this helps the next color grip on and stick. Once when I got distracted by a phone call, the top set too much, making the coconut layer lift right off, so keep an eye on timing. Now I keep a timer (and a playlist) handy to make the wait fun.
Serving, Storage, and Bringing the Wow
Rainbow jelly cake has a knack for turning shy guests into instant fans when they see it on the dessert table. Serve it chilled and slice with a knife run under hot water for picture-perfect layers every time. Leftovers hold beautifully for a couple days in the fridge (and make breakfast feel fancy).
- If your coconut layer is too firm, gently scrape it and moisten with an extra splash of coconut cream before serving.
- Decorate the top with edible blooms or sparkly sprinkles for extra flair.
- Stuck jelly? Run hot water briefly over the base of the mold for an easy release.
 Save to Pinterest
  Save to Pinterest
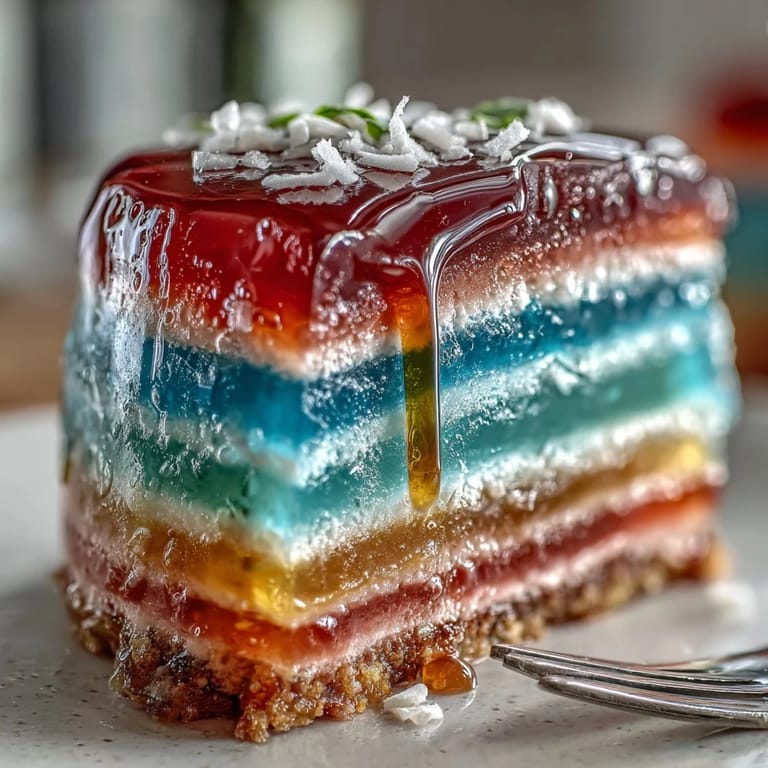
 This cake proves that patience and playfulness pay off. With every shimmering slice, you get a sweet taste of accomplishment—and an instant centerpiece to share.
Common Questions
- → How do I prevent the colors from bleeding between layers?
Let each colored layer cool until just set but still slightly tacky before pouring the next. Pour slowly and from a low height to avoid disturbing the surface.
- → Can I substitute gelatin for agar-agar?
Gelatin behaves differently and yields a softer, less firm set; it is not a 1:1 swap. For a firm, jelly-like texture and a plant-based option, stick with agar-agar and follow the package guidelines for dissolution.
- → Any tips for a smooth coconut layer?
Warm the coconut cream gently and whisk until homogenous before adding agar-agar. Strain if needed to remove lumps and pour only when slightly cooled so it doesn’t melt the colored layers.
- → How long should I chill before unmolding?
Chill at least 1 hour or until fully firm. For cleaner slices, chill longer so layers are completely set and hold their shape when inverted and sliced.
- → Are there natural coloring options?
Yes. Use small amounts of pandan for green, beet or strawberry for red, turmeric for yellow, spirulina for blue-green, and butterfly pea for blue or purple tones. Test concentrations for vibrant hues.
- → How can I make it vegan-friendly?
Use vegan-certified agar-agar and ensure sugars and colorings are vegan. The listed coconut cream and agar-agar base are already aligned with vegan and dairy-free diets when certified.