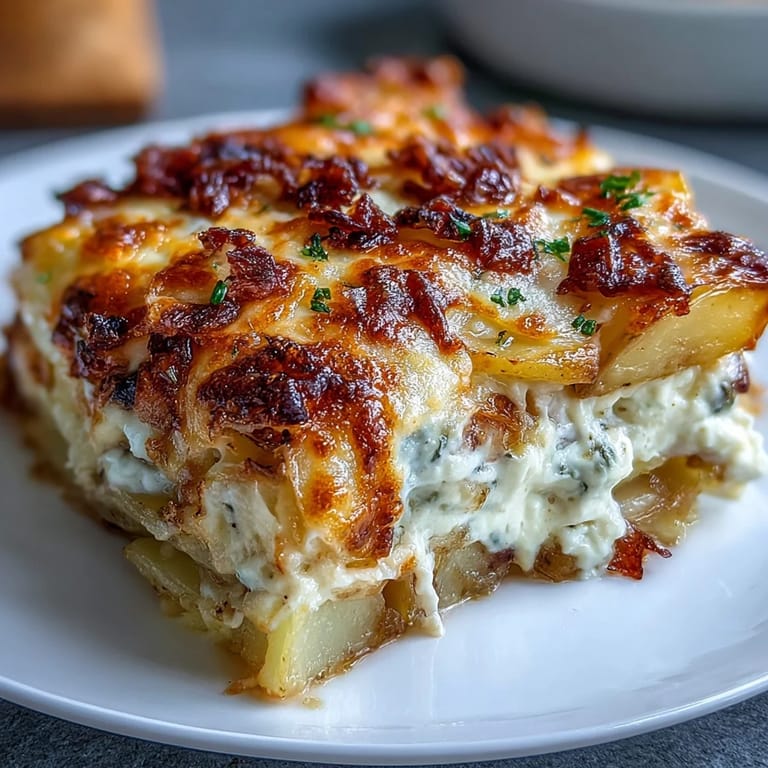
 Save to Pinterest
 There's something about the sound of a mandoline slicing through potatoes that still makes me pause in the kitchen—that rhythmic whisper of blade meeting starch. Years ago, I made scalloped potatoes for the first time on a whim, armed with nothing but curiosity and a box of store-bought sauce mix. The result was forgettable until I decided to build the sauce myself, layering cheese and cream into something golden and alive. Now, whenever I make this dish, I'm transported back to that moment of small discovery, realizing that the best comfort foods often come from the simplest choice to try a little harder.
I still remember my grandmother's kitchen the first time she watched me make this—she kept adjusting the oven temperature and muttering that patience was the secret ingredient. What she meant was waiting for those potatoes to actually turn tender, resisting the urge to crank the heat and rush through. Watching her taste it afterward, seeing that quiet nod of approval, felt like inheriting something more valuable than any written recipe could offer.
Ingredients
- Yukon Gold or Russet potatoes (2 lbs): Yukon Golds stay waxy and hold their shape better, but Russets will give you a fluffier, more tender layer if you prefer that texture—I've learned to choose based on mood.
- Yellow onion (1 medium): Sliced thin so it melts into the sauce rather than sitting as a distinct layer, adding sweetness without announcing itself.
- Sharp cheddar cheese (2 cups): The sharpness cuts through richness and keeps the dish from tasting one-dimensional, something I discovered by accident after grabbing the wrong cheese once.
- Mozzarella cheese (1 cup): This mellows the cheddar and helps create that stretchy, cohesive texture that makes every forkful satisfying.
- Whole milk (2 cups): Use actual whole milk, not half-and-half or cream, because the ratio matters for a sauce that's creamy but not heavy.
- Unsalted butter (2 tbsp): The foundation of your roux, and unsalted lets you control the final seasoning.
- All-purpose flour (2 tbsp): This thickens without making the sauce gloppy—the key is whisking it in thoroughly when the butter is foaming.
- Salt, black pepper, garlic powder, paprika: Don't skip the paprika on top; it adds color and a whisper of warmth that guests always notice.
Tired of Takeout? 🥡
Get 10 meals you can make faster than delivery arrives. Seriously.
One email. No spam. Unsubscribe anytime.
Instructions
- Get your oven and dish ready:
- Preheat to 375°F and grease a 9x13-inch dish so nothing sticks to the sides later. Having everything prepared before you start cooking means you won't be frantically searching for foil midway through.
- Build your cheese sauce base:
- Melt butter over medium heat, then whisk in flour immediately—this roux should smell toasty and look like wet sand. The flour needs a full minute to cook out any raw flavor before you add the milk.
- Create smoothness from scratch:
- Pour milk in slowly while whisking constantly, almost as if you're coaxing it to blend rather than forcing it. You'll feel the sauce thicken around the 3-4 minute mark, becoming silky enough to coat the back of a spoon.
- Add the cheese magic:
- Remove from heat, then stir in salt, pepper, garlic powder, and about half the cheeses, letting them melt into the hot sauce without cooking further. This method keeps the cheese from becoming grainy or separated.
- Layer with intention:
- Start with half your potatoes, then half the onions, then half the sauce, creating a rhythm rather than random assembly. The second layer goes exactly the same way, finishing with potatoes on top if you prefer, or saving space for that final cheese sprinkle.
- Top and tent:
- Scatter remaining cheeses and paprika over everything, then cover tightly with foil to trap steam. This foil covering is what keeps the potatoes tender rather than turning them into hard little rocks.
- Two-stage baking:
- Bake covered for 40 minutes until you can pierce a potato with a knife and it gives without resistance. Remove foil for the final 25-30 minutes, letting the top turn golden and the edges bubble—this is when the dish transforms.
- Honor the rest:
- Let it sit for 10 minutes before serving so the layers set slightly and everything stays together on the plate. I know it's hard to wait, but this step genuinely makes a difference.
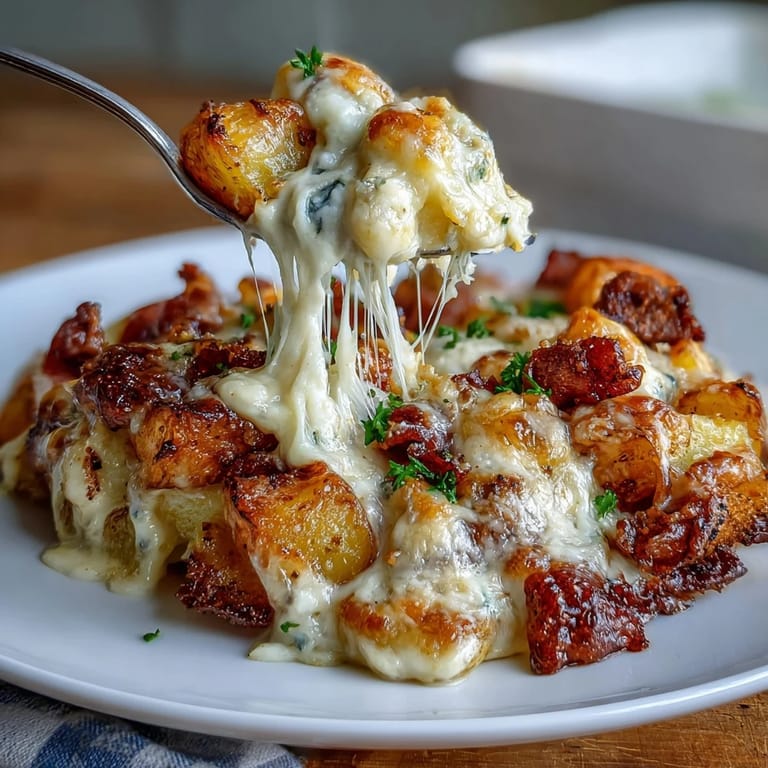 Save to Pinterest
 My sister brought this to a dinner party once and wouldn't leave the kitchen, constantly checking the oven even though it was already perfect. Watching people's faces when they tasted it—that small moment of surrender to comfort—reminded me why I love cooking this dish. It's not fancy, but it carries something honest about wanting to feed people well.
Why This Dish Matters
Scalloped potatoes live in this beautiful middle ground between homemade and humble. They're fancy enough for the holiday table but familiar enough that everyone feels safe digging in, which is its own kind of magic. There's no pretense here, just cream and cheese doing exactly what they're supposed to do.
Making It Your Own
Once you understand the basic structure, you can wander into flavored territory without losing the soul of the dish. A dash of nutmeg in the sauce reminds people of their childhood, or fresh thyme scattered between layers adds an almost unnameable sophistication. Some cooks swear by Gruyère instead of cheddar for something deeper and more complex, and they're not wrong—I've converted a few people to that method.
Timing and Flexibility
The beauty of this recipe is that it genuinely improves when you assemble it hours ahead, letting the potatoes absorb the sauce flavors while they wait. You can slice potatoes in the morning, build the whole thing by early afternoon, and pop it in the oven just before guests arrive. This is the kind of dish that works on its own schedule, not yours, which is exactly what you want when cooking for people you care about.
- Store leftovers in an airtight container for up to four days, and reheat gently in a 325°F oven covered with foil so it doesn't dry out.
- Gluten-free flour works perfectly as a one-to-one substitute if you need to accommodate that restriction.
- The dish also freezes well before baking—just add 15 minutes to your cooking time if baking from frozen.
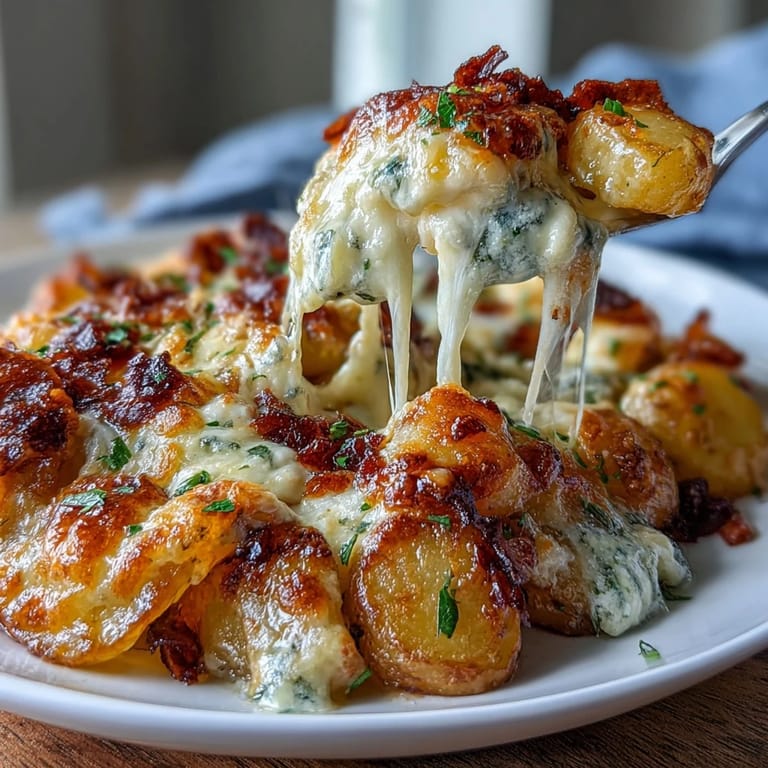 Save to Pinterest
 There's something deeply satisfying about pulling this from the oven, that steam rising from golden edges, knowing you built something warm and complete from scratch. Make this when you want people to feel cared for without any fuss about it.
Common Questions
- → What type of potatoes work best?
Yukon Gold or Russet potatoes are ideal due to their texture and ability to absorb flavors while maintaining shape during baking.
- → Can I prepare this dish in advance?
Yes, you can assemble it a few hours ahead and bake just before serving to maintain freshness and texture.
- → How can I make the sauce thicker?
Cooking the milk with butter and flour roux for a few minutes until slightly thickened ensures a creamy, smooth texture.
- → Are there seasoning alternatives?
You can add a pinch of nutmeg or fresh herbs like thyme to enhance the depth of flavor.
- → Is it possible to make this gluten-free?
Yes, substitute all-purpose flour with a gluten-free alternative to accommodate dietary needs.